A Ledger hardware wallet keeps your private keys on the device itself, out of reach of anything running on your computer. This guide covers setting up a Ledger from scratch and connecting it to Crucible Wallet.
Before you start
Make sure you have:
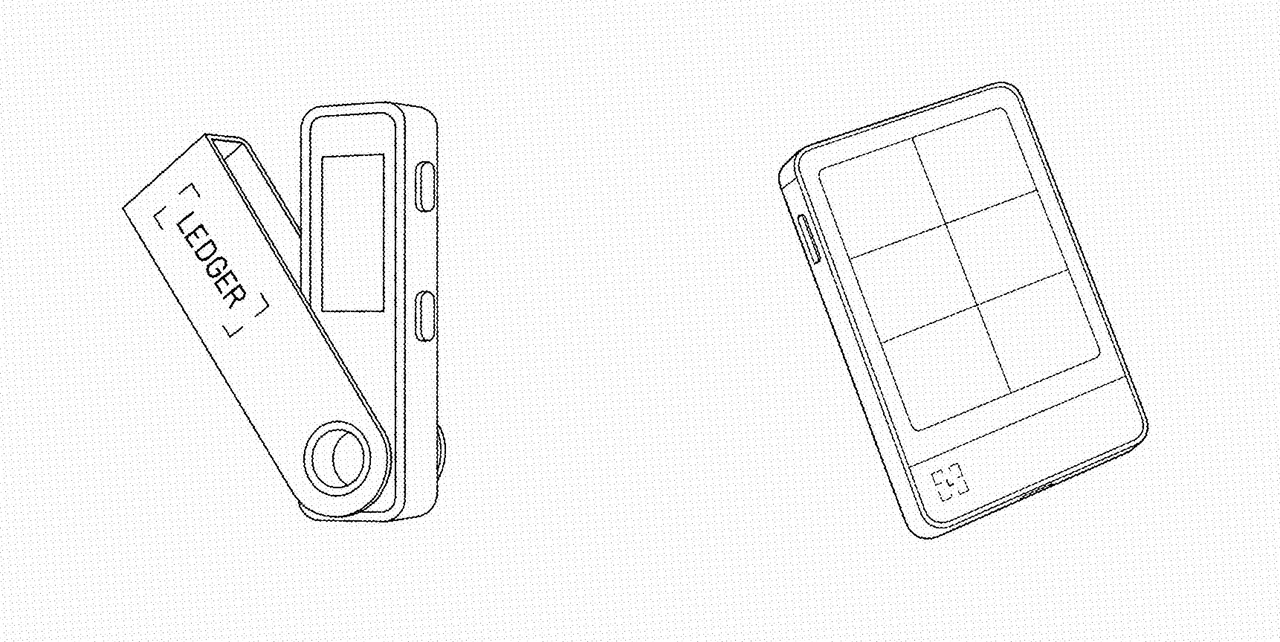
- A Ledger device — Nano X, Nano S Plus, Flex or Stax.
- The Crucible Wallet extension installed in your Chrome browser.
Set aside 15–20 minutes if you have not set up a Ledger device before.
1. Install Ledger Live and connect your Ledger device
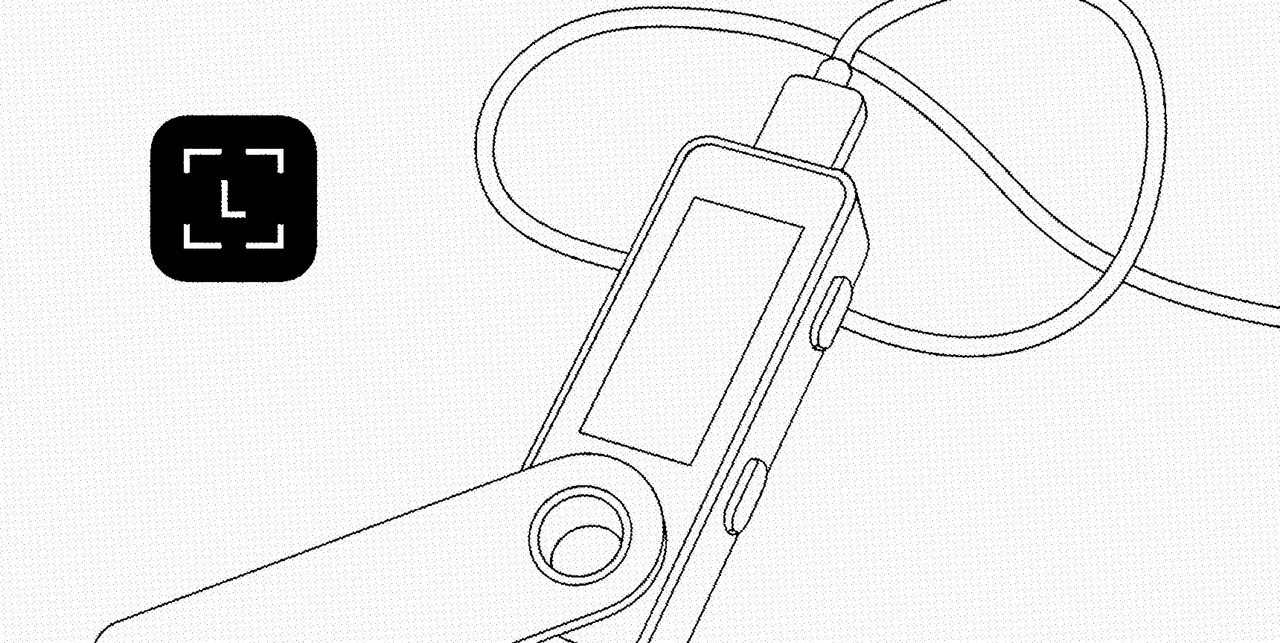
Download the Ledger Live app on your computer or mobile device. It is the official companion app for managing your Ledger, and the only place you should manage it from.
Then plug in your Ledger device with the USB cable.
2. Set up as a new device
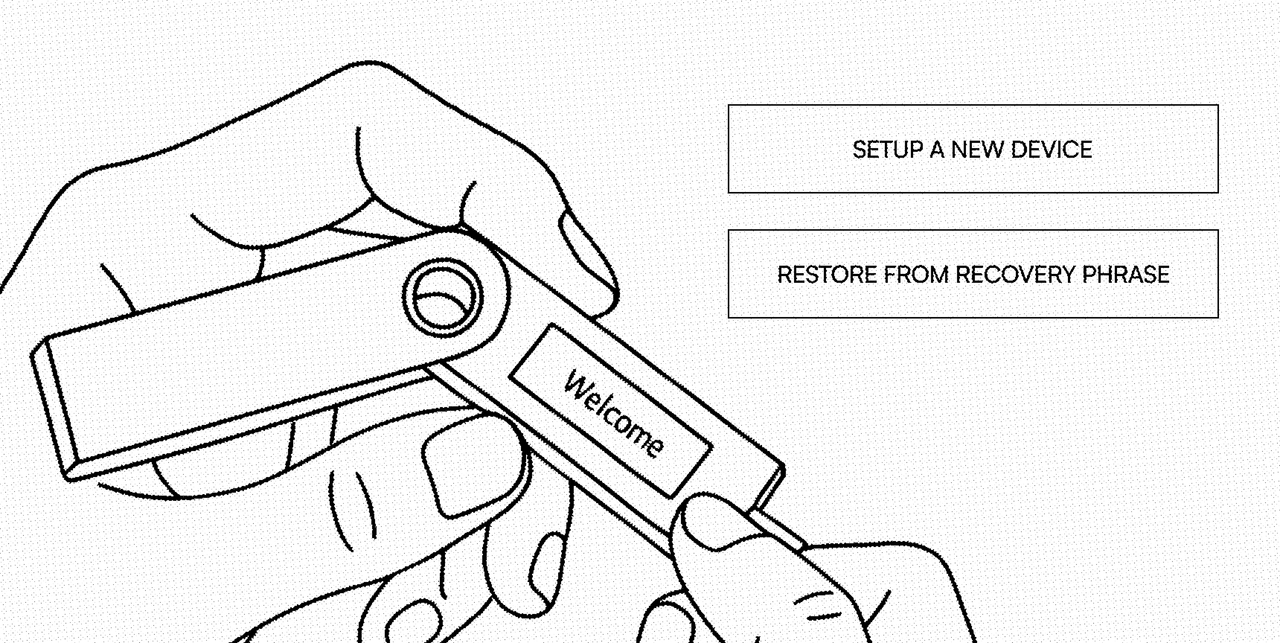
When Ledger Live detects your device, you will see two options:
- Restore from recovery phrase — for a wallet you already have.
- Set up as a new device — choose this one for a fresh start.
3. Generate your recovery phrase
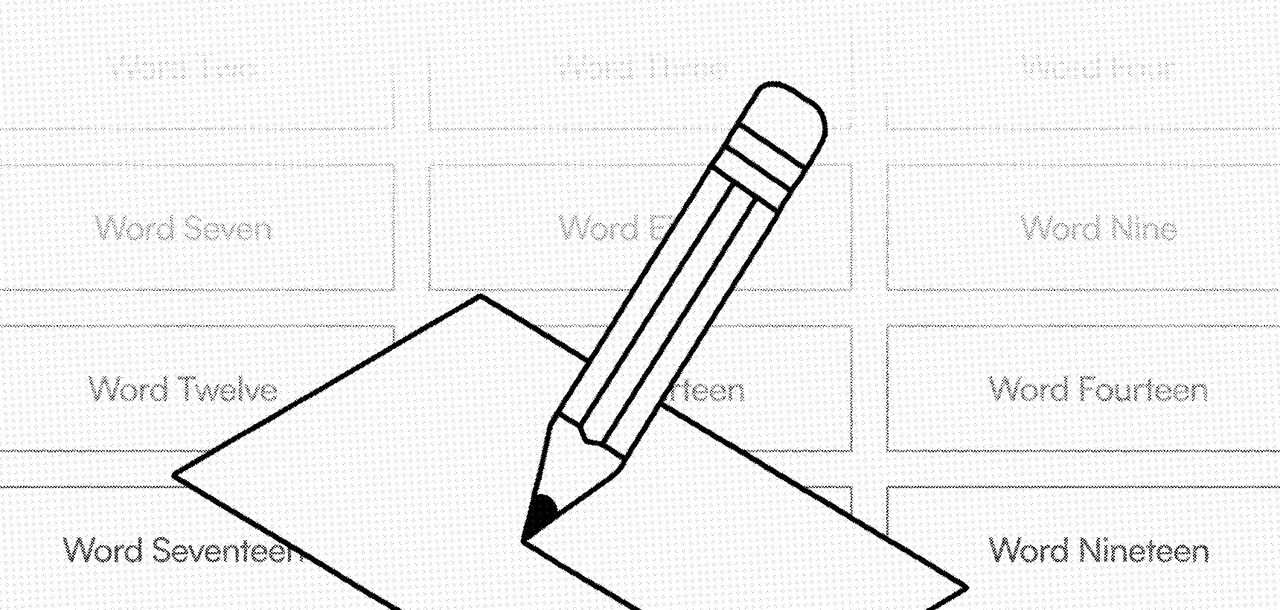
Your Ledger device generates a unique 24-word recovery phrase.
- Write it down on the recovery sheets provided.
- Never store it digitally — no notes apps, no cloud, no screenshots.
- This phrase is your one and only backup if the device is lost or reset. Anyone who has it has your funds.
4. Confirm the recovery phrase and set a PIN code
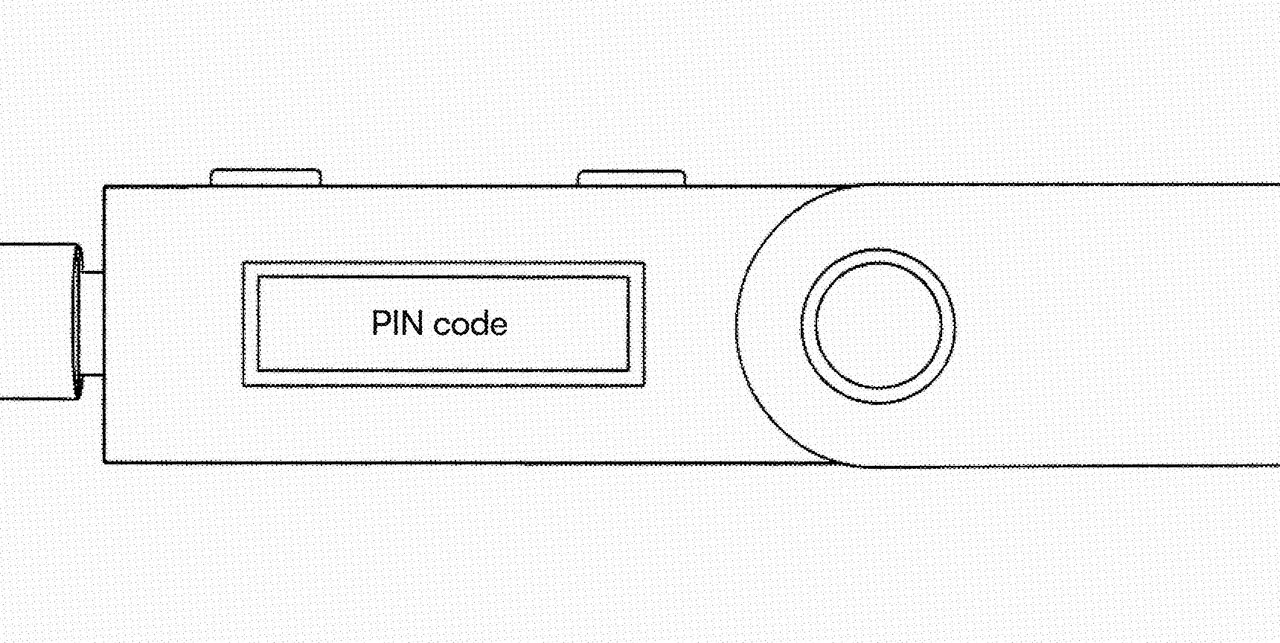
Follow the prompts on your device to confirm the words in the correct order, then choose a secure PIN to lock the device. The PIN is what protects it from anyone who picks it up.
5. Open Ledger Live and go to My Ledger
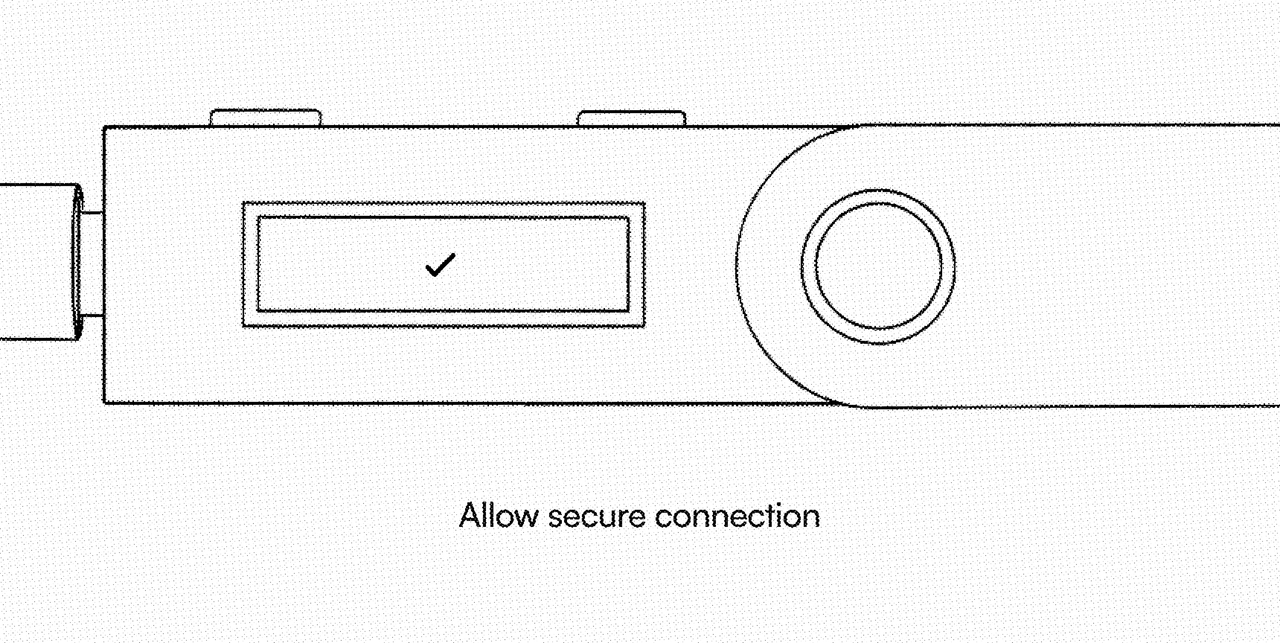
In Ledger Live, click My Ledger in the bottom left corner, then allow the secure connection when your Ledger device prompts you.
6. Update your firmware
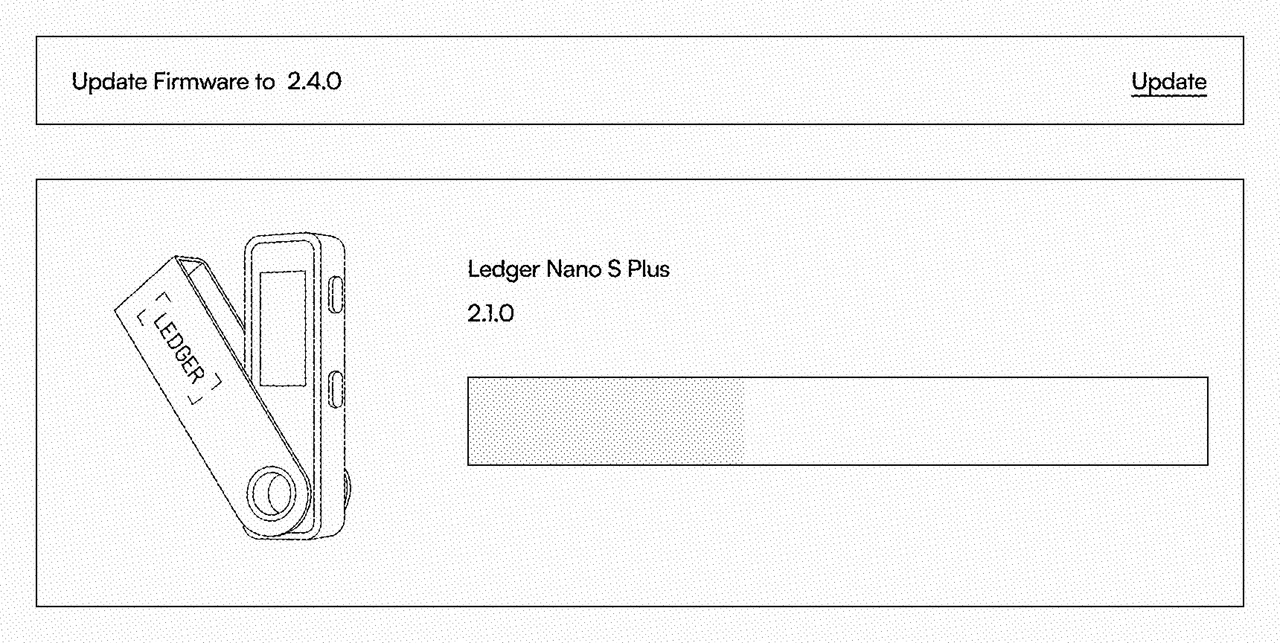
- Install the latest firmware to stay secure and up to date.
- You may need to reinstall apps after the update — this is normal.
- Repeat until your device is on the newest version.
7. Install the Polkadot app
In Ledger Live, search for Polkadot and install the Polkadot app directly onto your Ledger device. Crucible Wallet needs it to talk to the device.
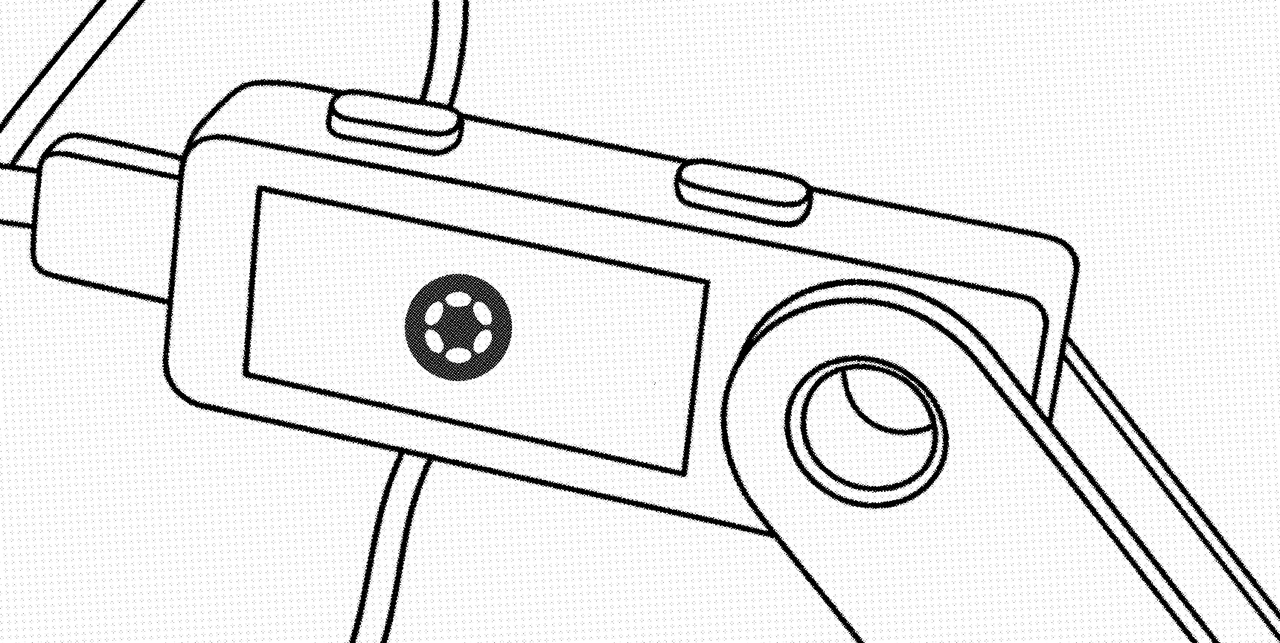
Your Ledger is now fully set up and ready. Next, connect it to Crucible.
Connecting Ledger to Crucible Wallet
To make sure the connection goes smoothly, check that you have:
- Plugged your Ledger device into your computer.
- Unlocked the device by entering your PIN.
- Opened the Polkadot app on your Ledger.
Click “Connect Ledger Wallet”
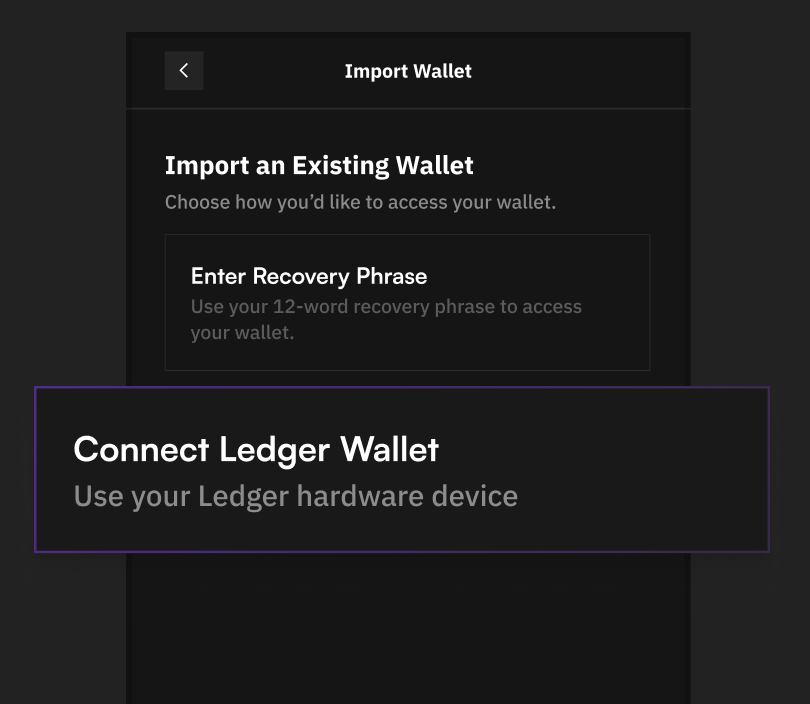
In Crucible Wallet, open Import Wallet and choose Connect Ledger Wallet. You will be directed to a webpage where you can allow USB permissions, which is what makes your Ledger device discoverable by the Crucible Wallet. When you click Connect Wallet, Crucible reads the public key off the device and asks you to give the wallet a name.
Once named, your Ledger is connected, and you can use Crucible Wallet with hardware-level security: the private keys stay on the device, and every transaction is signed there and confirmed by you.
Need help?
Browse the support guides, or reach out to us on X.